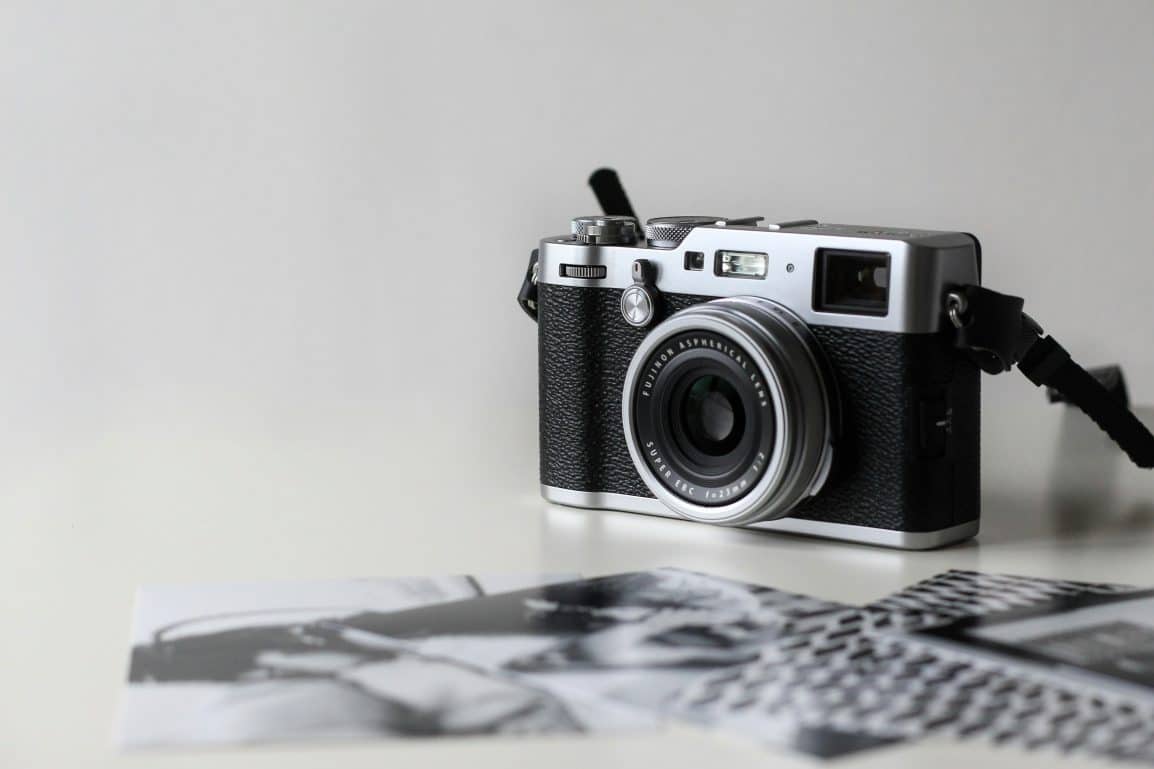
 Photo by NordWood Themes on Unsplash
With today’s resources and technology, capturing quality photos at home is now possible. Whether you need family photos, face shots, or large group pictures, here are a few tips to help you do it yourself (DIY) a photo shoot in the comforts of your own home.
Look for Inspiration
Finding inspiration for your DIY home photo shoot can be tricky, even for seasoned photographers. To help you begin, you must first establish your photoshoot objectives, as they will dictate every aspect of your photo sessions, from what your models will wear to the backdrop that you’ll need to create.
Will it be for a family shoot, pregnancy announcement, or pre-wedding? If it’s an engagement photo session, don’t hesitate to draw inspiration from your favorite photographer or reliable photo-sharing platforms. Learning from the best can significantly enhance your DIY photos.
Explore Your Setting Options
After determining your shoot’s purpose and theme, the next step is finding the ideal
photoshoot setting. Do a home walkthrough and identify places that best suit your vision. Choose a spot with great lighting and without unnecessary items.
Remember, you don’t need to limit your photo sessions to only one area. There are likely several spots in your home that can produce beautiful pictures. You can also bring your photo shoot outside to take advantage of natural lighting, provided the weather is sunny and bright.
Obtain the Necessary Photography Tools
In addition to your camera, you must also secure other relevant photography equipment that can help make your DIY shoot successful. Some necessary tools include reflectors, tripods, umbrellas, soft boxes, and lamps.
You also need a backdrop, which you can make yourself, rent, or purchase ready-made. It would be best to use a neutral backdrop or one with minimal prints or designs. Remember, your background should not overpower your primary subjects, so choose them wisely.
Focus on the Lighting
Lighting is an essential element in any photo shoot, regardless of location. It can add ambiance and depth to your photos and affect their overall quality. Unless your setting is outdoors, you must be creative with your lighting sources. Schedule your photo shoot during hours with the most natural light, as sunlight is one of the best light sources, and is preferred by most photographers.
If natural light is difficult to secure, your next best option is to experiment with various light sources and use artificial lighting. Aside from your camera’s flash units, some artificial light sources include softboxes, strobe lights, ring lights, lamps, bulbs, and overhead lights. You can even use fairy lights or string lights as alternative light sources. Make sure to take test shots from multiple angles to check if they work well with your setting.
Choose the Right Props
Props are valuable when shooting photos. They set the narrative of your photo shoot theme and elevate your backdrop. Props can also help make your models or subjects become more comfortable in front of your lens. Some props that can boost your photo shoot include mirrors, glass balls, flowers, balloons, wine glasses, bubbles, books, and plants.
Secure a Strong Internet Connection
While a strong network connection is not mandatory for home photoshoots, having reliable internet can make a significant difference, especially if you’re collaborating or asking for help from other photographers.
If you routinely upload your work on your personal or business website or social media platforms, a strong internet connection can make this task more manageable. In addition, you can effortlessly search for photo inspiration and learn various photography strategies without leaving your precious abode.
Endnote
While DIY home photo shoots come with unique challenges, they also offer a myriad of benefits. Follow the above mentioned tips, and don’t forget to enjoy the entire experience.

